Using the Registration and Planning menu, click on:
- Register for Classes
In order to register, the registration time that you may see on the Registration Status page (Prepare for Registration) must align with the time you are registering for classes. If you do not see a registration time displayed on the Registration Status page, "registration time restrictions" do not apply.
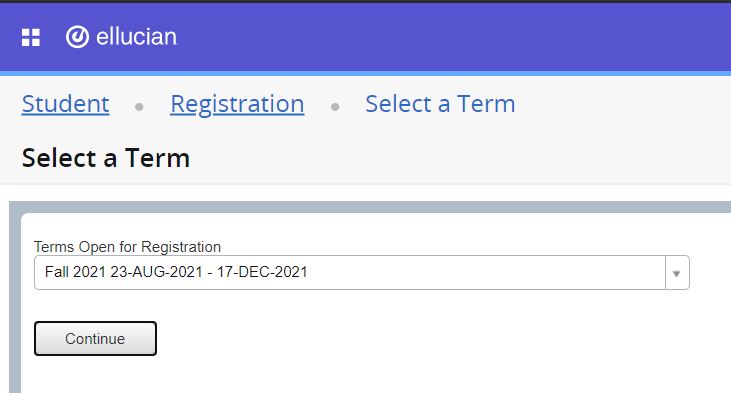
You will be prompted to select a Term for registration. Choose the appropriate term, and click "Continue".
Panels
If you are not yet registered for any classes in the given term, the registration page will open with the Schedule grid and Summary panels minimized. You can open the Schedule and Summary panel by clicking the "panels" button on the bottom of the window. These panels will automatically expand when you add your first class to your registration summary.

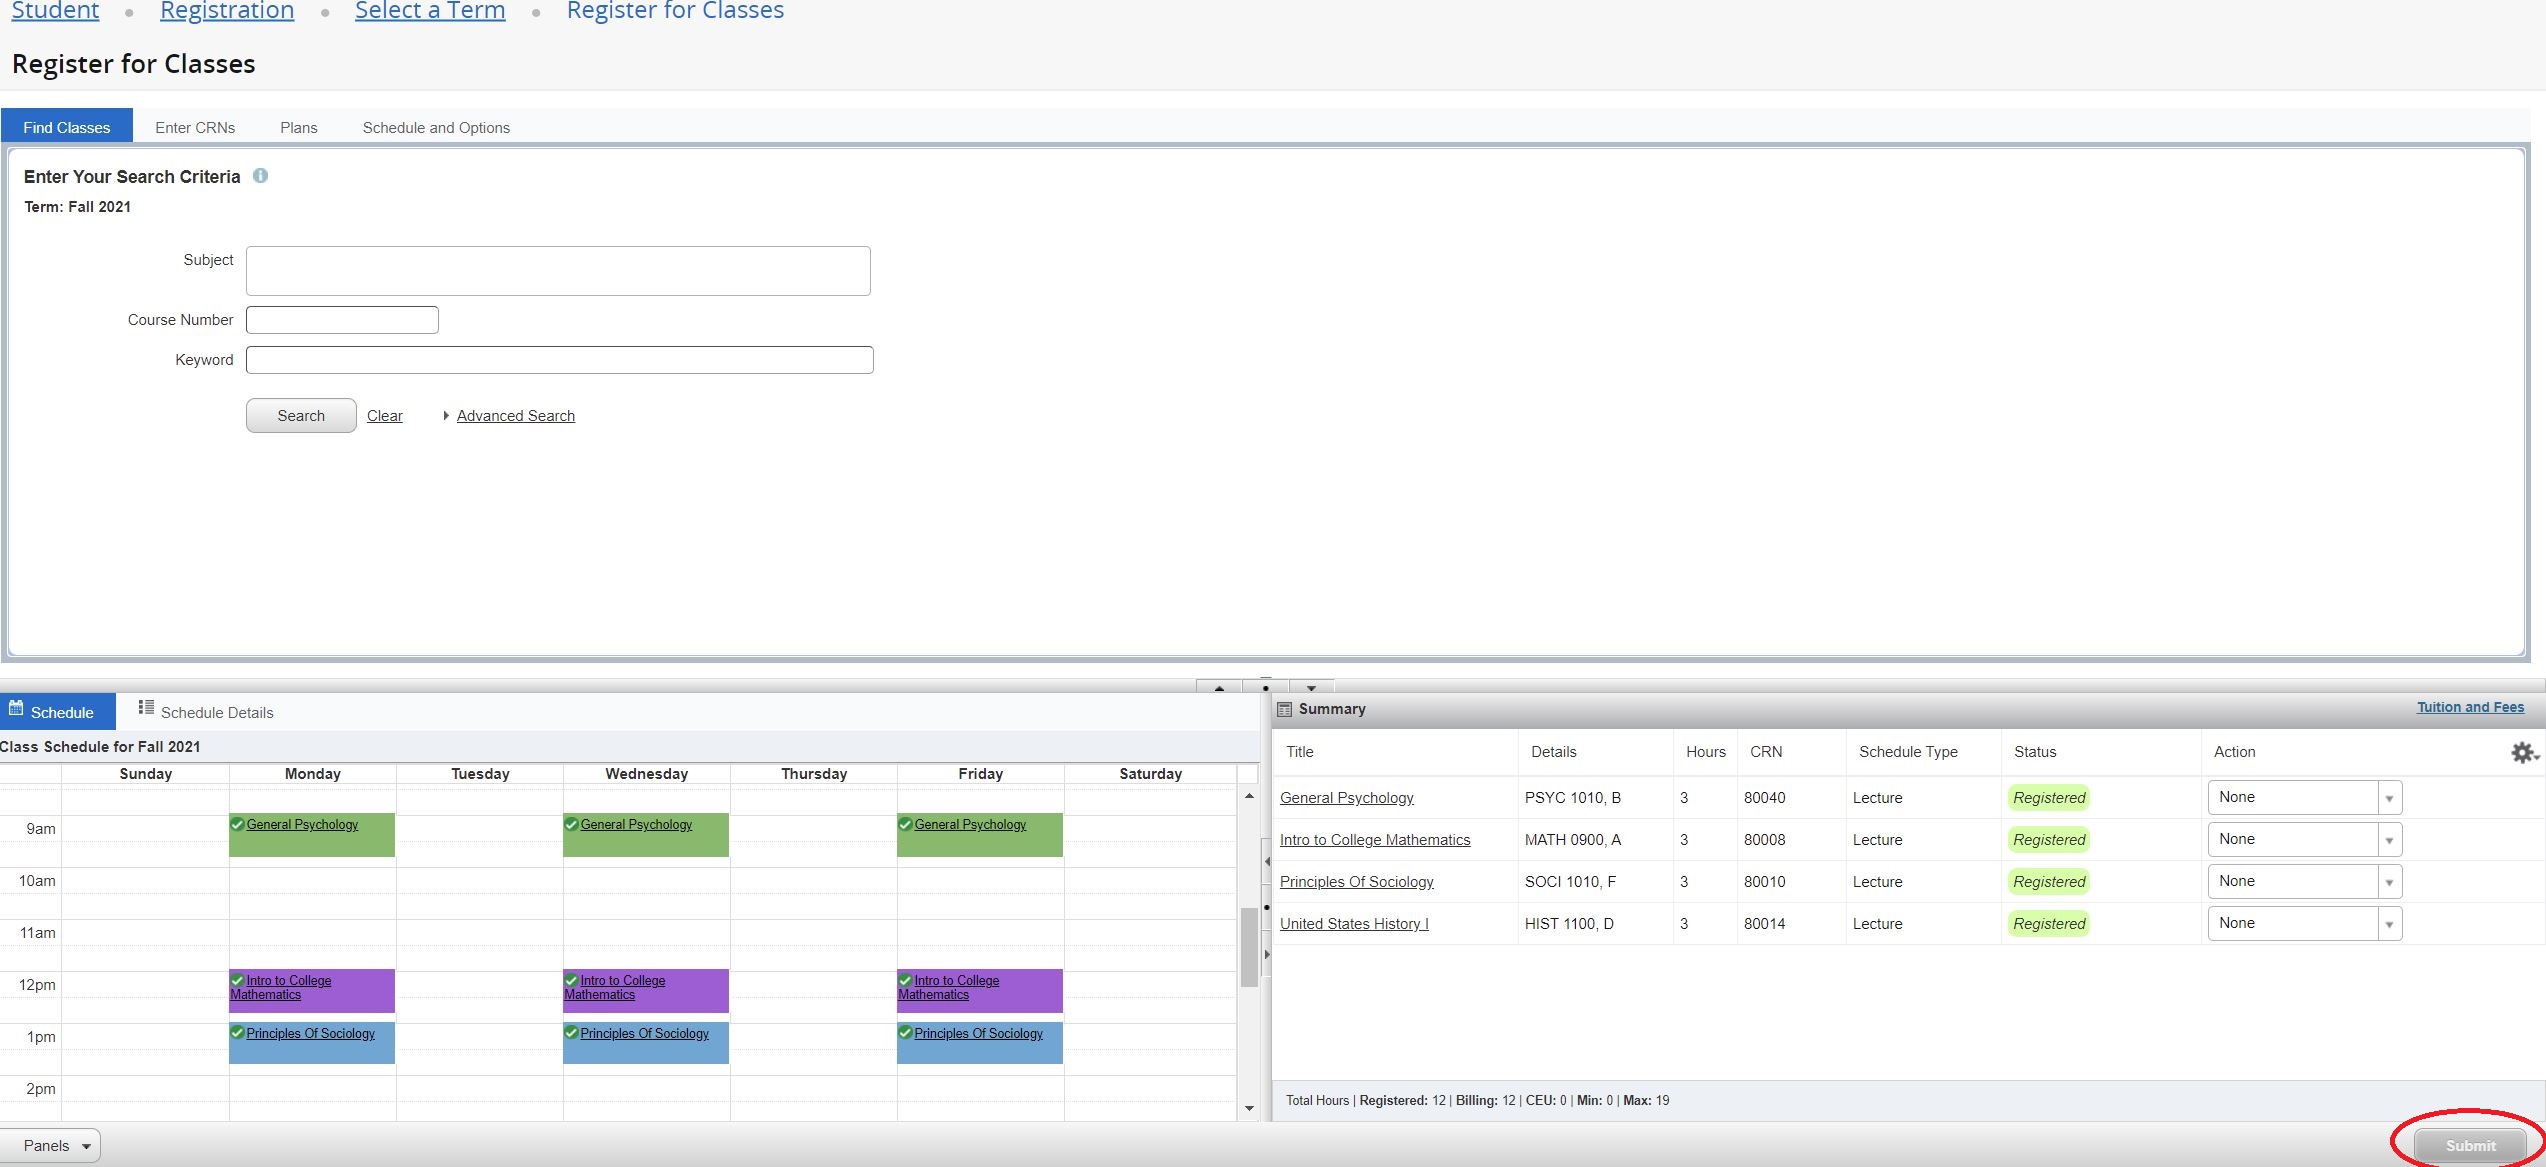
- Top panel: Provides various options to begin the registration process and where you can print your schedule.
- Schedule panel (bottom left): Displays a weekly grid or list view of your classes (pending classes are displayed as gray strikethrough).
- Summary panel (bottom right): Where the registration transactions are completed by the student (and displayed). You can use the "action" drop down list for a given class to register, drop, withdraw and waitlist; then click the "Submit" button. After clicking "Submit", please watch for any registration messages.
If you have registered before, you will be presented with a page similar to this:

Registration Process
The registration process generally consists of:
- Use the tabs on the "top panel" to search and add each class as a pending registration entry, which will display in the "Summary" panel (bottom right).
- Submitting the pending registration entries displayed in the "Summary" panel.
Adding Classes
Build your schedule using the "Find Classes" or "Enter CRNs" tabs on the "top panel", then clicking "Add" or "Add to Summary" button for a given class (right side) that you want to register for. This will add the class to the "Summary" panel in a pending registration status. You can also view the schedule you are building using the "Schedule and Options" tab.
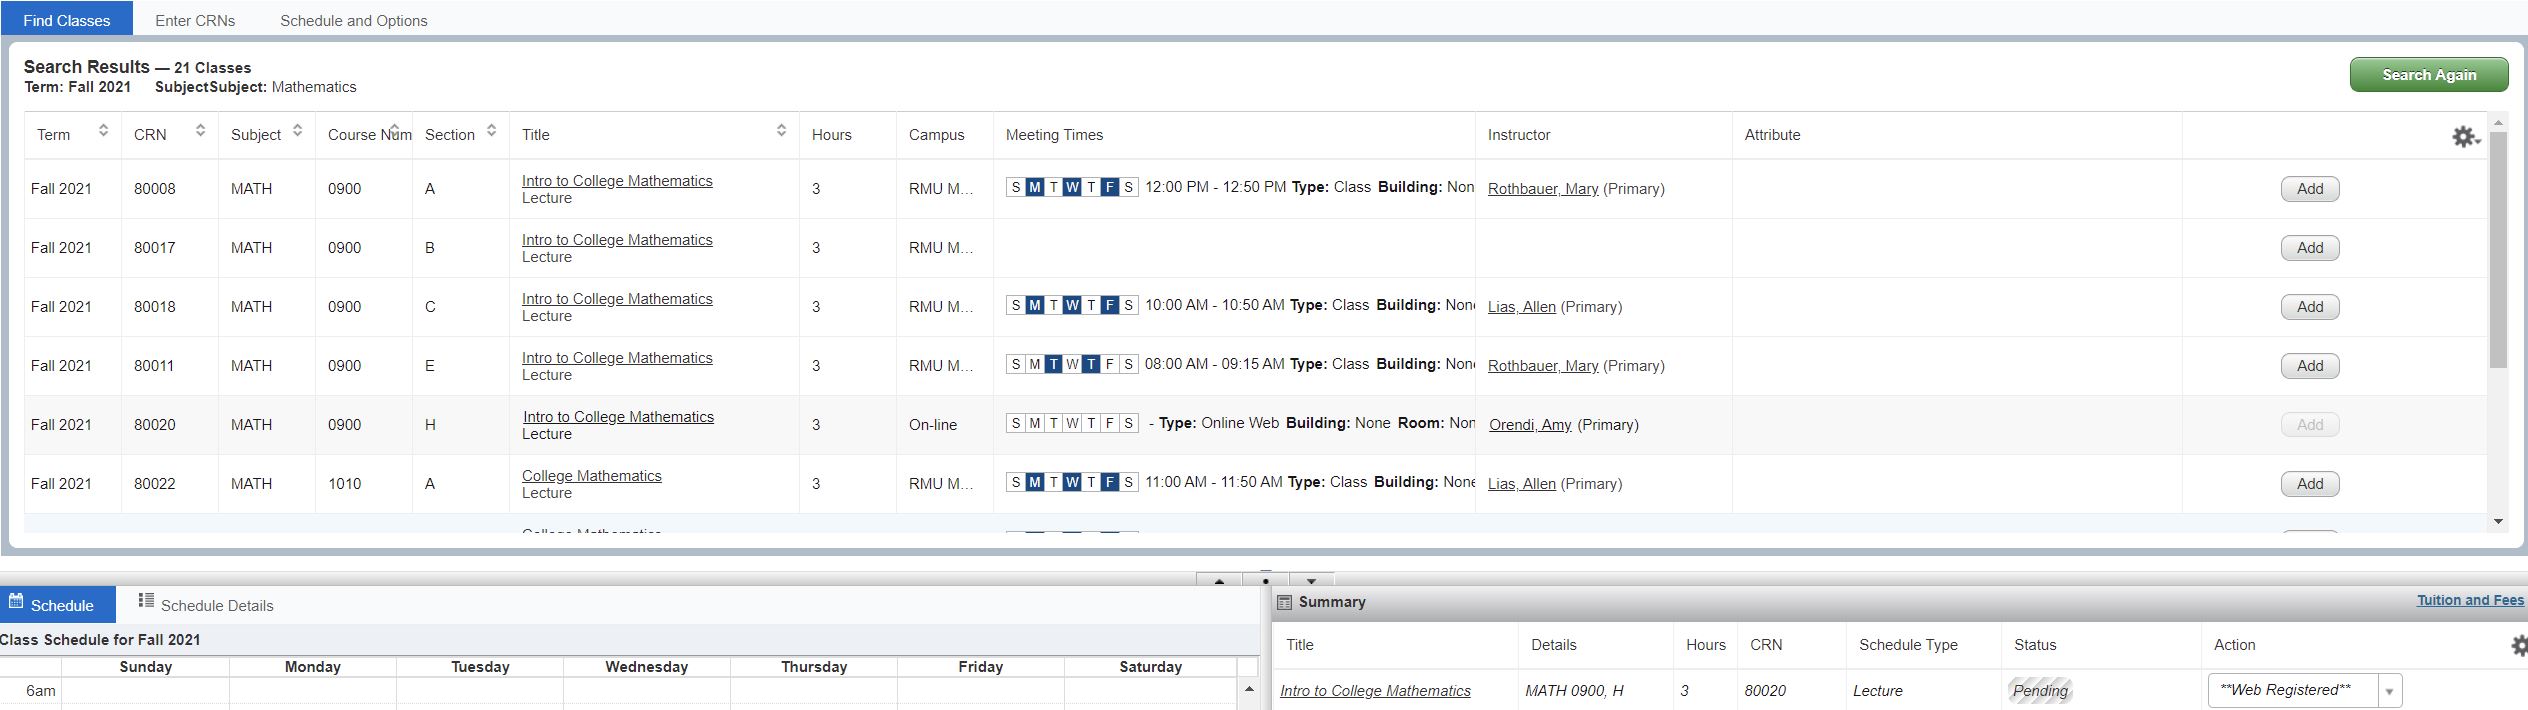
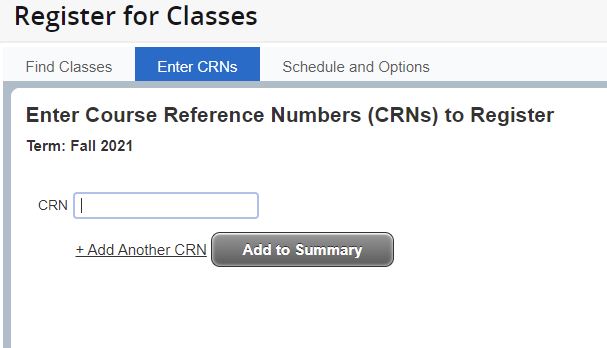
Use the "Find Classes" or "Enter CRN" tabs on the top panel to find the classes you want to register for. From the "Find Classes" search results, click the "Add" button to the right of the class to add it to the registration Summary panel. As you add classes, they will appear in a pending status. If you already know the course reference number (CRN), you can use the "Enter CRN" tab. Enter the CRN and click the "Add to Summary" button to add the class to the registration Summary panel. Prior to Submitting your registration, you can adjust your schedule by "removing" classes. This is done by clicking the drop-down box next to the appropriate course under the "Action" heading. The course will not be removed from your schedule, as displayed, until you "Submit" your registration.
Please refer to Browsing Classes to learn more about how to search for classes.
You can use the "Panels" button on the bottom of the window to minimize the "Schedule" and "Summary" panels for more room to view your Search results.
Plans
Banner uses a Degree Audit tool for Registration Planning.
Submitting Your Registration
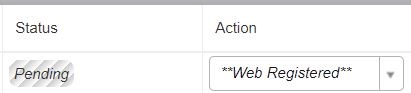
When you add a class to the Summary panel, by default it is in a "pending" registration status.
You will also see it in gray on the Schedule grid panel. Please ensure that there are no overlapping class times as you add classes/sections as these
will result in registration errors.
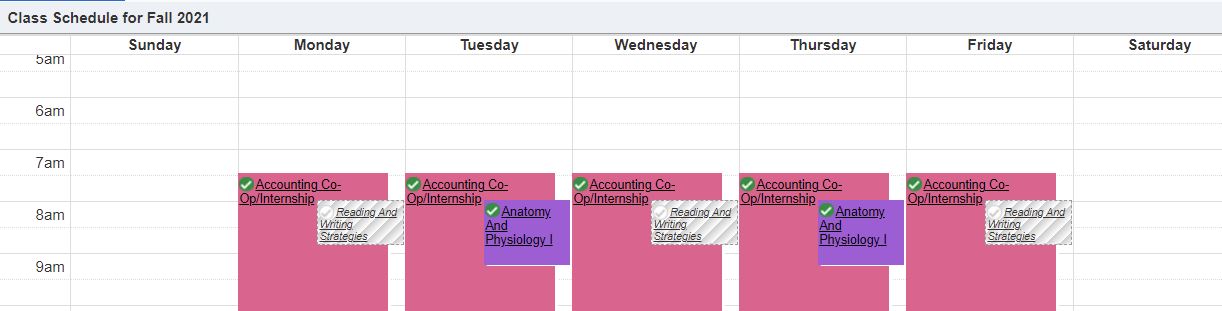
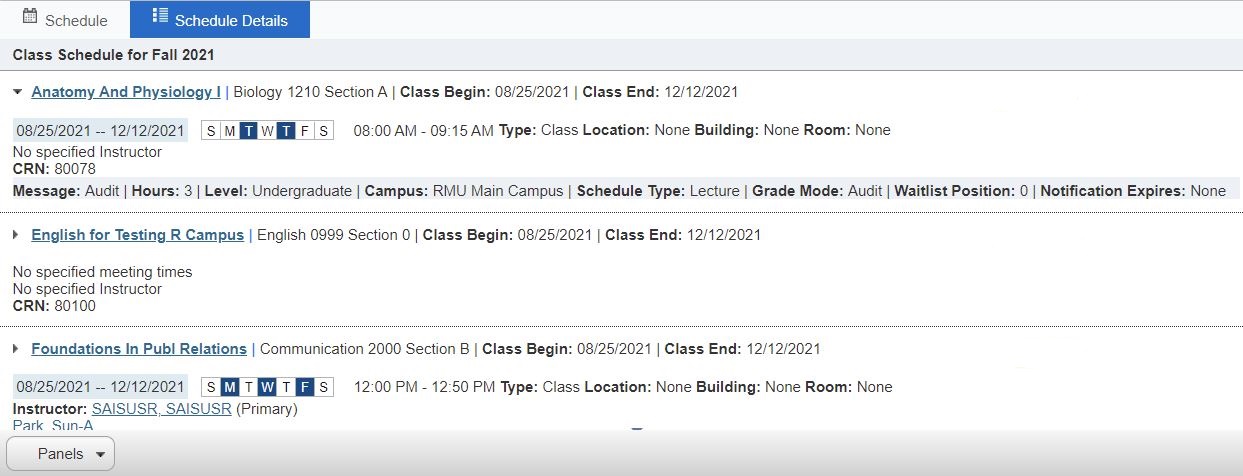
You can also click the "Schedule Details" tab on the Schedule panel for a detailed schedule view.
When ready to register, click the "Submit" button in the Summary panel (bottom right) to submit your registration. Prior to Submitting your registration, you can adjust your schedule by "removing" classes. This is done by clicking the drop-down box next to the appropriate course under the "Action" heading. The course will not be removed from your schedule, as displayed, until you "Submit" your registration.
You are not registered for classes until you have successfully submitted your registration(s) in the Summary panel, and the status next to the courses changes to "Registered". Refer to the examples below-
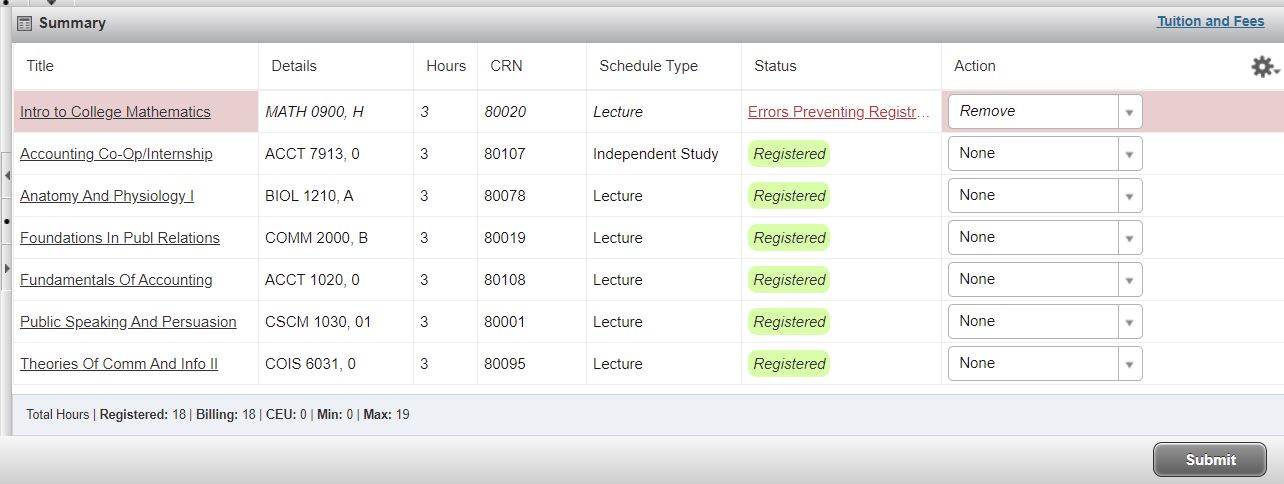
When your registration is submitted, the schedule will be automatically checked for errors (ex. is the class still open?, are there time conflicts?, have you met all the pre-requisites?, etc.). If your registration is successful with no errors, you will see a green "Save Successful" message on the top right of the window, and the status of the classes will change to "registered". If there are any errors, you will see those message also, but any classes that were successfully registered will have a status of "registered" in the Summary panel.
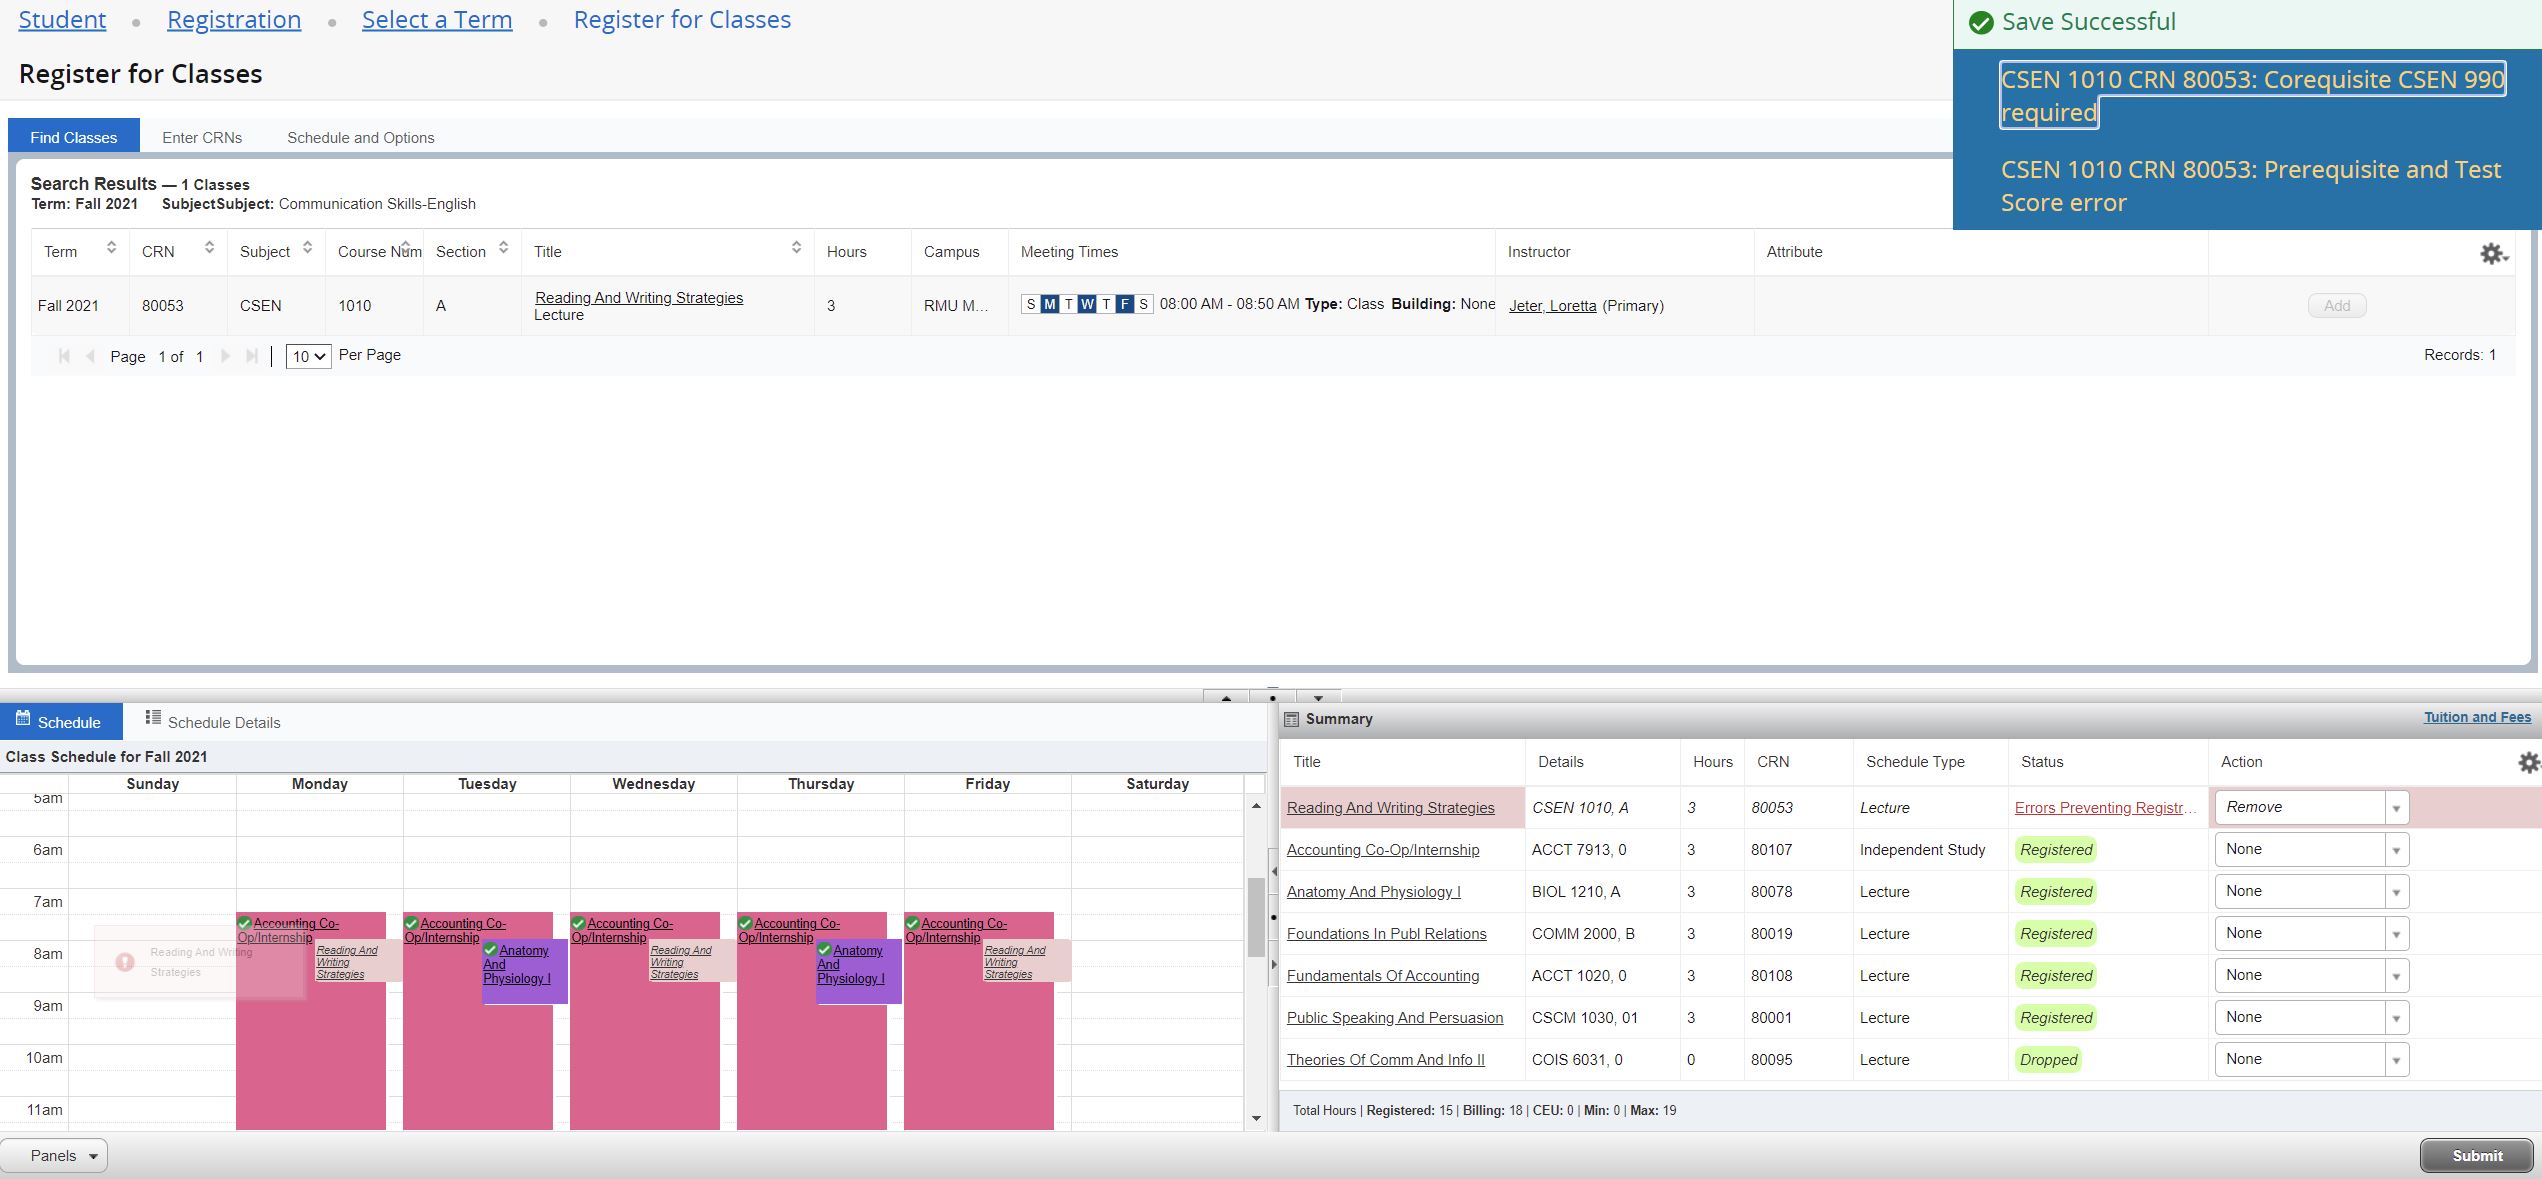
Any classes that have errors will have the status changed to "Errors Preventing Registration" and the value in the Action column will change to "Remove".
Leaving "Remove" in the Action column and clicking "Submit" will remove the class (an error) from the Summary panel.
You can also move your mouse over the class with the error in the Summary panel, hover and you will see a more informative message (ex. Time conflict with ...).
Printing and Downloading your class schedule (after registration)
Click the Schedule and Options tab from the Register for Classes portal.

This screen will display a summary view of your class schedule, and you will see two icons on the upper right; a calendar and printer.
Printing:
Click the Printer icon and follow the prompts to create a PDF file that you can Save/Print.
Downloading your schedule to your Google calendar:
Click the Email icon and follow the prompts. Ensure your email address checkbox is checked, and enter the appropriate Subject. You can also email your schedule to others using the additional email address fields.

You will receive an email message with your schedule, and an .ics file attached to the email message (example below).

Clicking 'download' will allow you to save this file to your computer, and then load it into your Google Calendar. Please review steps for loading this file into your Google Calendar via these web links: reference1 reference2
You will also be able to see the classes that you have registered for on the Student Profile page:

Adding / Dropping Classes
Adding and dropping classes after your initial registration must be completed prior to the end of the add/drop period for a given term. Please be aware that class registration changes may impact your tuition charges.
To drop a class from your schedule, locate the class in the Summary panel, change the value in the Action column to "Drop", and then click the "Submit" button.
You cannot drop your last class using self-service, and must meet with your academic advisor.
You can also add classes as described in the Adding Classes section above.
Please consult with your advisor prior to adding or dropping courses.
Class Withdrawals
Class withdrawals can be made after the add/drop period ends, until later in a given term/part of term. However, please contact the Office of the Registrar and/or your Advisor for the most up-to-date/accurate information. Class withdrawals are performed similarly to dropping a class (as described above). However, the value in the Action column will be changed to "Web Withdrawn", then click the "Submit" button. You cannot withdraw from all classes without meeting with your advisor.
Waitlisting Classes
A waitlist is a way to indicate your interest in a class without actually registering for the course. A class that you are waitlisted on will not have an effect on your enrollment status.
When you are searching for a classes, the 'status' column on the class search via self-service registration will indicate if a waitlist exists.

In this case, you can join the class waitlist by:
1) clicking the 'add' button to add the class to your course schedule.
2) To add yourself to the waitlist, click the drop down arrow on the "Action" field, choose "Waitlist" and then click "Submit". If you do not want to join the waitlist, leave the action for the given class as "remove" and click "Submit".
Watch a YouTube video about adding yourself to a waitlist.
If a class as a wait list, and the first person on the list has been notified that a seat is available, you may receive the following message via self-service: "Open - Reserved for Waitlist". This means that a seat has been offered to a student on the waitlist and is reserved for them until their notification time window expires. If this occurs, you can add yourself to the wait list by clicking the "action" drop down for the given class, and choosing "waitlist". Then click "Submit".
If you are on a wait list, you will be notified via email if a spot (seat) opens in the waitlisted class. If notified, you have 48 hours to register for the class, from the time of email notification, or you will lose your "seat" in that class.